Hexagon Lighting Installation

Click it together.
Fix it up. Plug it in.

HEXA Penta Classic hexagon light lit on a ceiling, with its power cord and Australian 3-pin plug

Plug and play, from a standard 3-pin plug.

Everything you need to install a HEXA hexagon light, step by step, from planning the layout to switching it on.

From $96.00

Installation film

Easy to install. Plug and play.

Watch a Classic hexagon light go up from start to finish. Click the bars into their connectors by hand, fix it to the ceiling with the parts in the box, then plug it into a standard 3-pin power point and switch on.

Watch the full installation film with sound on YouTube.
  • Clicks together by hand

    Push each bar into its connector until it is fully home. The connectors carry the power to every bar.

  • Fixed to the ceiling

    Screws flat to the ceiling with the mounting parts in the box, just 36mm off the ceiling. High or raked ceiling? Hang it on a suspension kit, sold separately.

  • Plug and play

    Plugs into a standard 3-pin power point. Switch on and every hexagon lights up.

Want it on a wall switch? That is fixed wiring, which must be done by a licensed electrician.

Watch it go up.

  • Bars push into the connectors.
    Push them in until they sit flush.

    HEXA Penta Classic hexagon light being clicked together, bar by bar
  • Screw it flat to the ceiling,
    or hang it on cables.

    A finished HEXA Penta Classic hexagon light rising and fixing flat to the ceiling
  • A standard Australian 3-pin plug.
    Switch on at the power point.

    A HEXA hexagon light 3-pin plug pushed into an Australian power point, then the light switching on
  • Build it, fix it up, plug it in.
    The whole job in three moves.

    A HEXA Classic hexagon light being built, fixed to the ceiling and plugged into a power point
  • Drivers built into the bars.
    One power cord for most layouts.

    A HEXA Classic LED bar, connectors and power cord coming together as one unit
  • 7-year warranty.
    Residential, 5 years commercial.

Before you start

Get everything ready.

Check the box, gather a few everyday tools and read the safety points. Then you are ready to build.

  • What is in the box.

    • LED bars with the drivers built in
    • Clear 2-way (C) and 3-way (Y) connectors
    • A power cord with an Australian 3-pin plug
    • Surface mounting parts
    • The installation manual for your layout
  • What you will need.

    • A step ladder or work platform
    • A cordless drill and screwdriver
    • A tape measure, pencil and stud finder
    • A second person to help lift it into place
    • Suspension kits, if you are hanging it
    Shop suspension kits
  • Safety first.

    • Unplug the power cord before you touch the bars or connectors
    • Build and test the whole system on the floor before it goes up
    • Fix into ceiling joists or battens, as your installation manual shows. Not sure? Ask us
    • Keep the layout clear of roller door tracks and motors
    • Any fixed wiring is done by a licensed electrician to AS/NZS 3000

Step by step

How to install
hexagon lights.

Seven steps take you from an empty ceiling to a finished hexagon light. These steps follow the HEXA Classic range; always check the installation manual that comes with your layout.

Illustration of a room floor plan with measured walls and a hexagon light layout drawn inside

Step 1: Plan your layout.

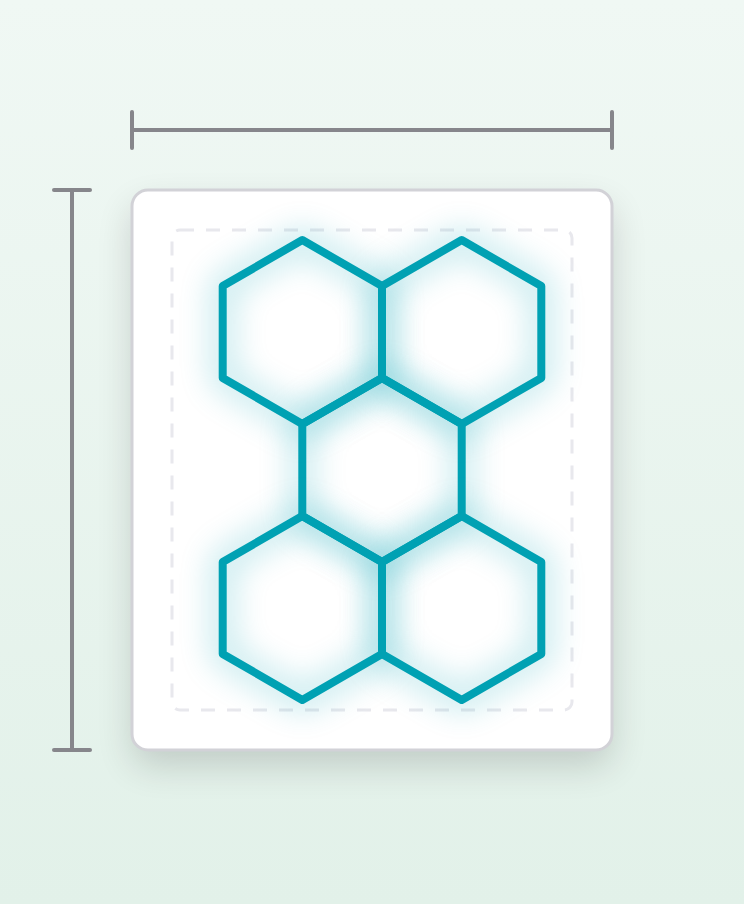
Measure the ceiling and choose a layout that leaves at least 300 mm clear of every wall. Mark the centre of the ceiling, find the joists, and check there is a power point within reach of the power cord.

Not sure which size? Type your room size into the size finder further down this page and it picks the Classic layout that fills the ceiling evenly.

Good to know

  • A roller door? Keep the layout clear of the track and the path the door travels
  • A motor in the middle? Two matching layouts, one each side, look great switched together
  • Odd shaped room? We can design a layout to suit it
Find your size
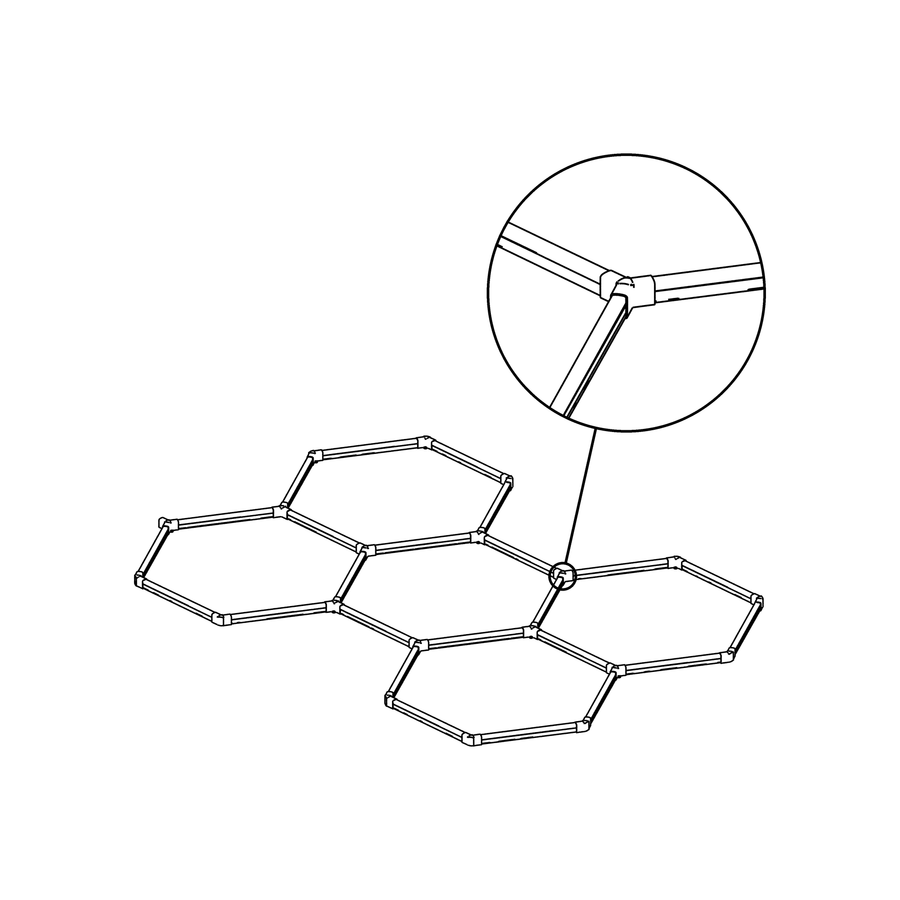
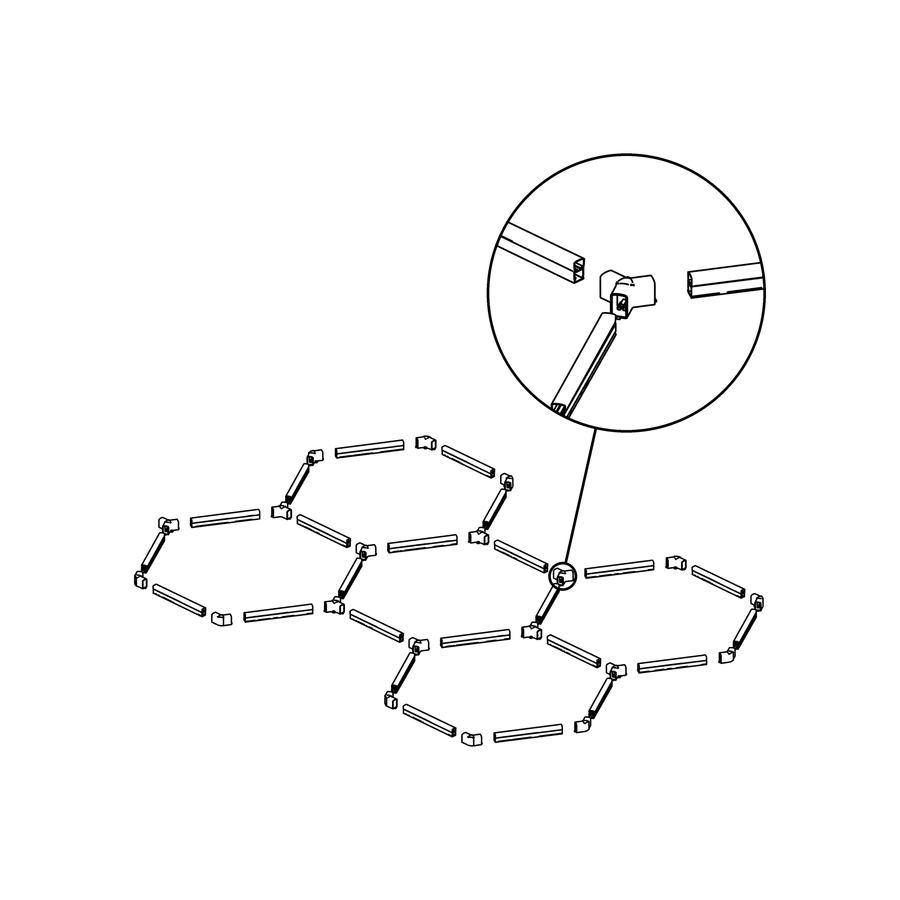
Installation drawing: HEXA hexagon bars and connectors laid out on the floor in the shape of the layout

Step 2: Lay out the parts.

Unbox everything onto a clean floor, ideally right under where the light will go. Sort the LED bars, the clear 2-way (C) connectors and the 3-way (Y) connectors, then arrange them in the shape shown in your installation manual.

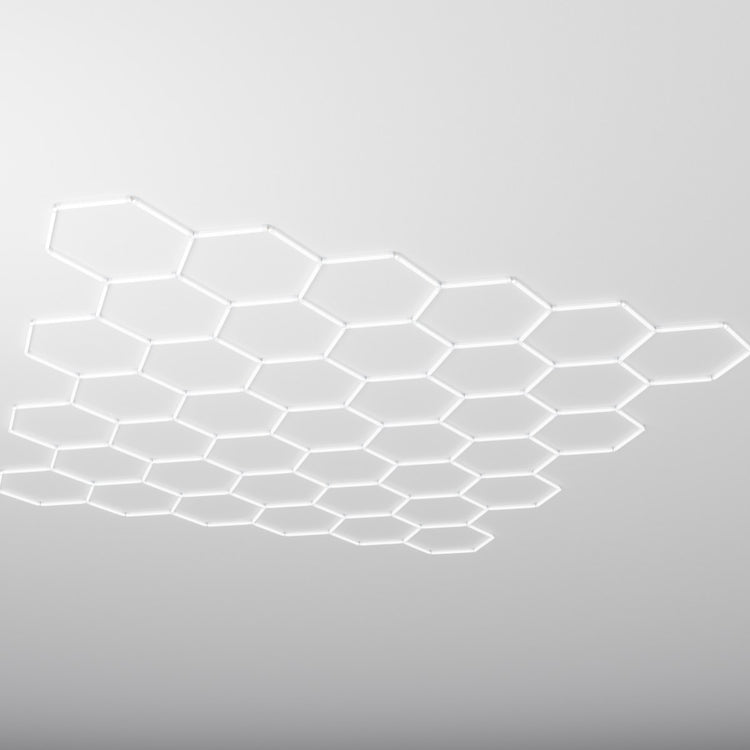
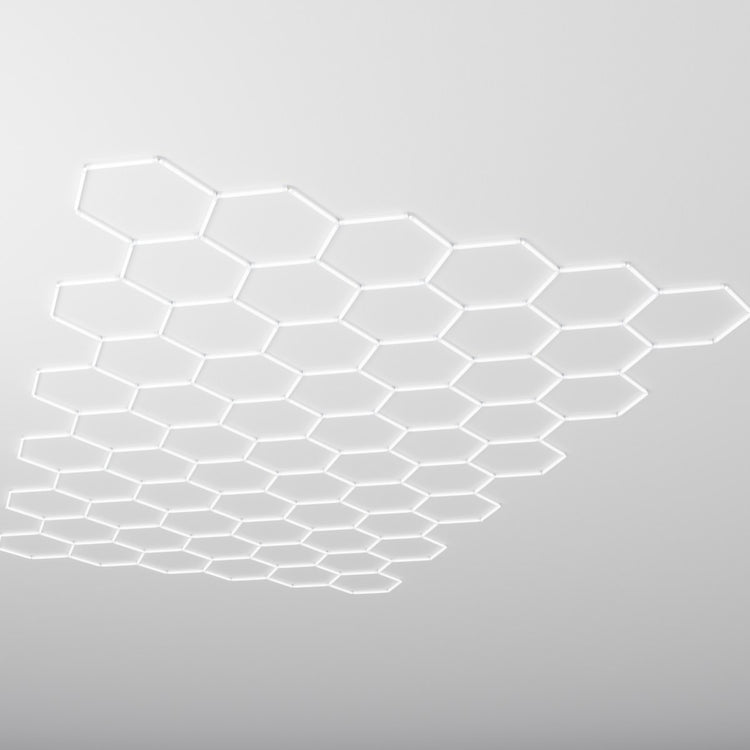
A Penta, for example, is 24 bars and 20 connectors.

Good to know

  • Lay a moving blanket or cardboard down to protect the bars
  • Y connectors go where a new hexagon joins on, C connectors go on the outside corners
Installation drawing: HEXA hexagon bars pushed into a three-way connector to form the full grid

Step 3: Click it together.

Start at one corner and build the first hexagon. Push each bar fully home into its connector until it sits flush, then keep adding hexagons, column by column, until the whole layout is complete.

The drivers are built into the bars, so there is no separate transformer box to wire in.

Good to know

  • If a bar stays dark later, check it is pushed fully home into its connector
  • Bordered system? Build the straight border frame first with its straight and 90 degree connectors, put the T connector on the final corner for the power, then build the hexagons inside it
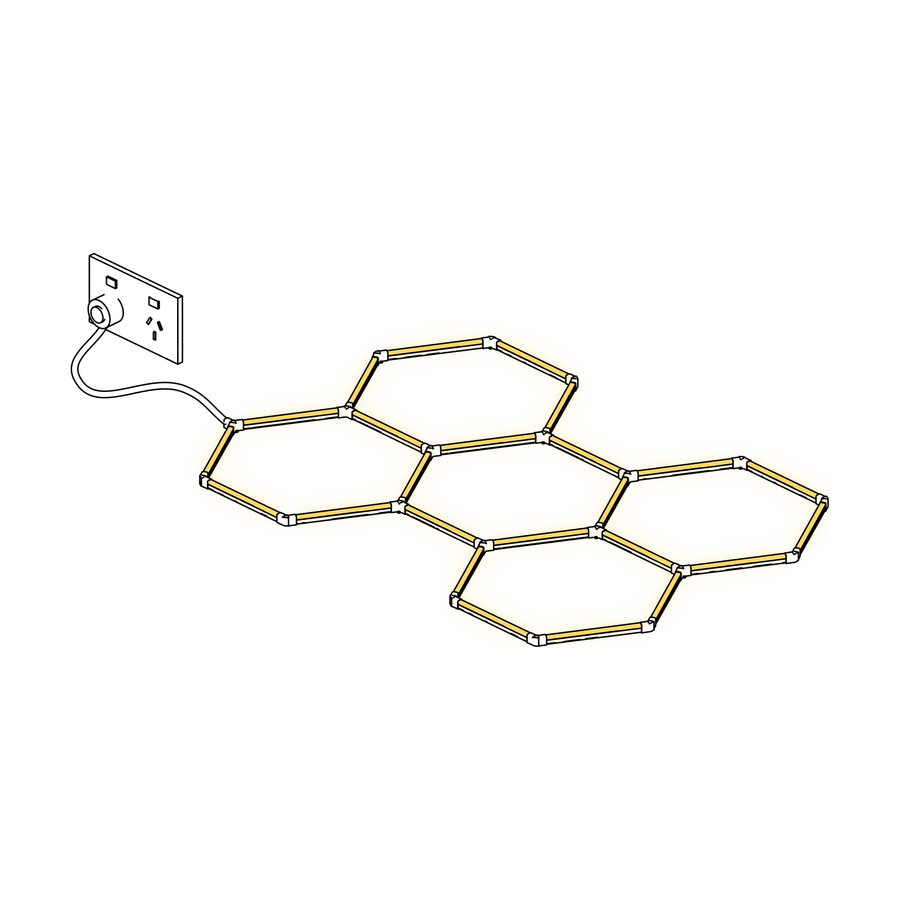
Installation drawing: the assembled HEXA hexagon grid plugged into an Australian power point and lit

Step 4: Test it on the floor.

Before anything goes up, plug the power cord into a power point and switch on. Every bar should light evenly. If one stays dark, unplug, push its bar back into the connector and test again.

It is far easier to fix a connection on the floor than on a ladder.

Good to know

  • Unplug again before you lift or move the system
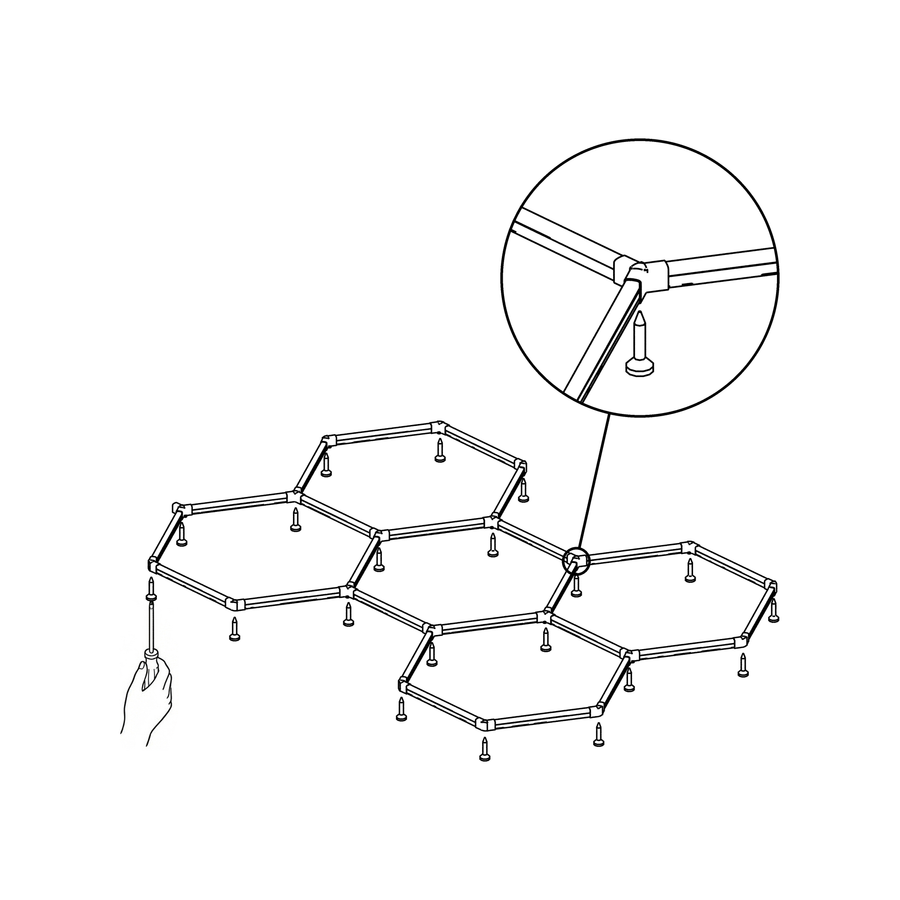
Installation drawing: the HEXA hexagon grid being screwed to the ceiling through its connectors

Step 5: Fix it to the ceiling.

With a helper, lift the system into place. Screw it to the ceiling through the mounting holes in the connectors, into the joists or battens. The surface mounting parts are included, and a Classic system sits just 36 mm off the ceiling.

High or raked ceiling? Hang it level on suspension kits instead, in 1 m, 2 m, 4 m or 6 m lengths. Your installation manual shows where each fixing point goes.

Fixing tips

  • Fix the corners first, then work across the layout
  • Adjust each suspension cable so the light hangs level, following your installation manual
  • A Penta hangs on 16 suspension kits, a Large Double Garage on 54 and a Large Triple Garage on 79
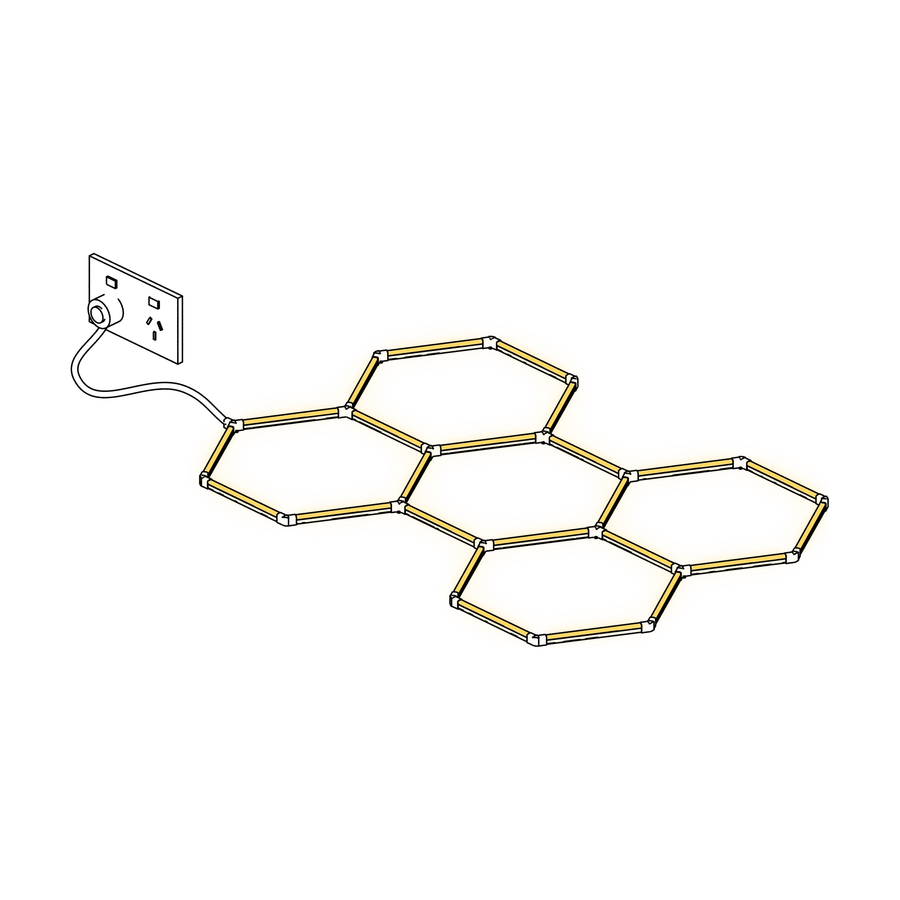
Installation drawing: the finished HEXA hexagon light plugged into an Australian power point and lit

Step 6: Plug in and switch on.

Plug the power cord into a standard Australian 3-pin power point and switch on. That is it. Plug and play.

Want it on a wall switch or a lighting circuit instead? That is fixed wiring, and it must be carried out by a licensed electrician.

Plug and play or hardwired?
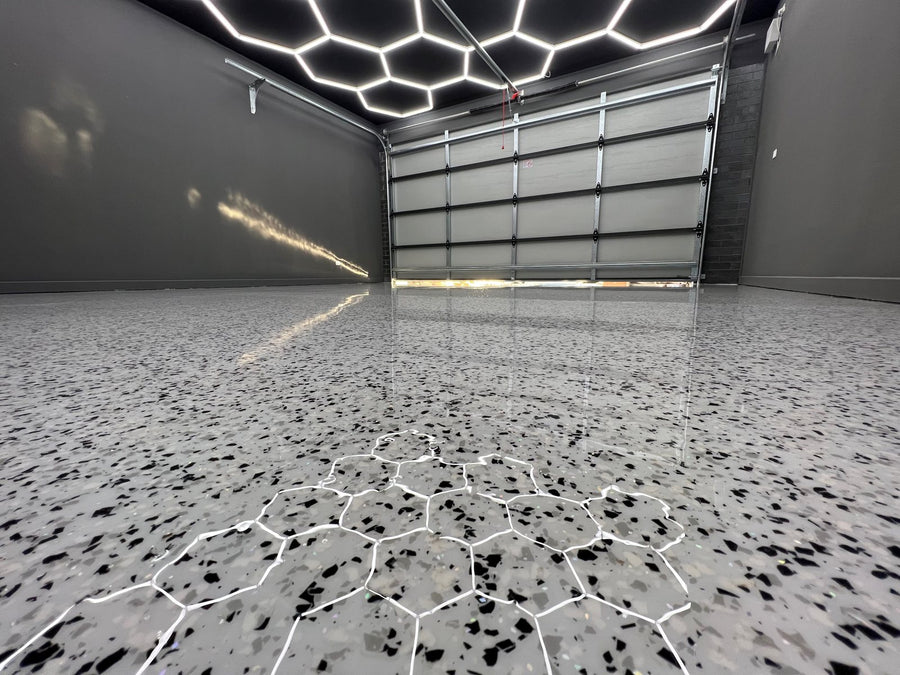
HEXA hexagon lights over a polished epoxy garage floor in front of a roller door

Step 7: Tidy the cord and enjoy the light.

Run the power cord neatly along the ceiling and down the wall to the power point with a few cable clips. Then step back and enjoy bright, even light from wall to wall.

Want more detail? Keep reading.

Mounting options

Made to fit your ceiling.

Flat ceiling, high ceiling, roller door or an odd shaped room. There is a way to fit a HEXA hexagon light to it.

  • A HEXA Penta Classic hexagon light fixed flat to a white ceiling

    Fixed to the ceiling.

    Screwed flat through the connectors, sitting just 36 mm off the ceiling. The surface mounting parts are included.

  • Hexagon lighting over car hoists in a high ceiling workshop

    Hung on cables.

    For high or raked ceilings. Suspension kits in 1 m, 2 m, 4 m or 6 m lengths hang it level, at the height you choose.

    Shop suspension kits
  • HEXA hexagon lights across the ceiling of a double garage

    Around a roller door.

    Keep the layout clear of the track and the door's path, or fit two matching layouts, one each side of the motor.

  • Illustration of a custom hexagon light layout drawn on a plan with a pencil and ruler

    Designed for your room.

    Send us your room size and ceiling height and we will design a layout, with a drawing, a parts list and a fixed price.

    Get a custom layout

Power

Plug and play, or hardwired.

Every HEXA hexagon system ships with a power cord and a standard Australian 3-pin plug. You choose how it is switched.

  • Do it yourself

    Plug and play.

    Fix it up, plug it into a standard 3-pin power point and switch on at the power point.

    • No wiring changes
    • Easy to move if you move house
    • Switch on and off at the power point
  • Licensed electrician

    Hardwired to a switch.

    Want it on a wall switch or your lighting circuit? That is fixed wiring, and it must be carried out by a licensed electrician to AS/NZS 3000.

    • Switch it with the other lights
    • Your electrician can see exactly what the system is tested to
    • Classic is tested and registered as one complete system
    See the certification

Which size
do I need?

Type your room size and we will match it to the Classic system that fills the ceiling evenly, leaves room around the walls, and gives the light level the space needs.

Type your room size.

m
m

Up to


of light from the system we recommend.

Not sure? Send us your room size and we will suggest a layout, or design one just for your space.

Get a custom layout
Recommended systems by garage size
SpaceRoom sizeRecommended systemLight outputPrice
Small garage bay 2.4 x 3 m Triod Classic up to 9,450 lm From $305.00
Single garage 3 x 6 m Single Garage Classic up to 35,910 lm From $879.00
Long single garage 3.5 x 7 m Extended Single Garage Classic up to 42,840 lm From $1,264.00
Compact double garage 5.5 x 5.5 m Double Garage Classic up to 55,440 lm From $1,462.00
Double garage 6 x 6 m Double Garage Classic up to 55,440 lm From $1,462.00
Large double garage 7 x 7 m Large Double Garage Classic up to 89,460 lm From $2,693.00
Triple garage 9 x 6 m Large Triple Garage Classic up to 136,080 lm From $3,629.00
Workshop or big shed 12 x 9 m Large Triple Garage Classic up to 136,080 lm From $3,629.00

How we size it: the system must fit with at least 300 mm clear of every wall, and we pick the one that fills about 80 percent of the usable ceiling. Light levels use floor area x target lux, plus 20 percent for ceiling height and dust. Sizes are overall, connector to connector. For an exact layout, send us your plan.

Lit by HEXA

Real HEXA installs.

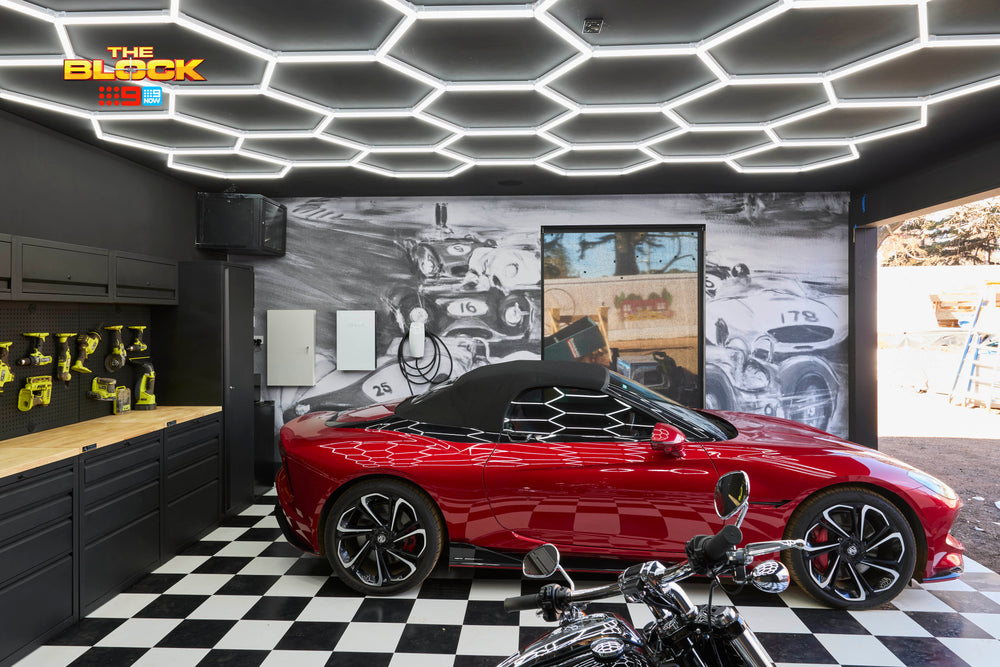
From The Block to the home gyms of Australian sporting stars, these are some of the spaces we have lit.

Shop hexagon lights.

Our original system in 18 layouts. Four whites, white or black, 7-year warranty.

View the Classic range

Why HEXA is the best place
to buy hexagon lighting.

  • Up to 7 years of cover.

    Residential, on Classic, Grande and Bordered. RGB and RGBW carry 5 years.

    Warranty

    Up to 7 years of cover.

    Classic, Grande and Bordered systems carry a 7-year replacement warranty on residential installations and 5 years on commercial. RGB and RGBW carry 5 years. A faulty part is replaced with a brand-new one.

    Read the warranty terms

  • Tested as one complete system.

    Classic is safety and EMC tested as the whole light, not just the power supply.

    Certified

    Tested as one complete system.

    Safety tested to AS/NZS 60598 and AS/NZS 61347 and EMC tested to AS CISPR 15 as one assembled system, and registered on the EESS database as E2025008174.

    See the documents

  • Plug and play out of the box.

    Every system ships with a standard Australian 3-pin plug.

    Install

    Plug and play out of the box.

    Assemble it on the floor, fix it to the ceiling and plug it in. Hardwiring to a wall switch is fixed wiring and must be done by a licensed electrician.

    Read the installation guide

  • Your room, designed for you.

    A drawing, a parts list and a fixed price for your exact space.

    Custom layouts

    Your room, designed for you.

    Send us your room size and ceiling height and we will design a layout for it.

    Request a custom layout

  • Trade pricing for the trades.

    For electricians, builders and designers lighting client projects.

    Trade

    Trade pricing for the trades.

    Apply for a trade account for trade pricing on hexagon lighting for your projects.

    Ask us about trade

  • Australia wide delivery.

    Shipped to your door, anywhere in Australia.

  • Real people who know hexagon lighting.

    Help with sizing, installing and your order.

    Support

    Real people who know hexagon lighting.

    Email sales@hexalighting.com.au and our team will help with sizing, layouts and installation.

    Contact us

Questions? Answers.

Can I install hexagon lights myself?

Yes. HEXA hexagon systems are plug and play. They ship with a power cord and a standard Australian 3-pin plug, so you build the system on the floor, fix it to the ceiling and plug it into a power point. If you want it on a wall switch or a lighting circuit, that is fixed wiring and must be done by a licensed electrician.

How do hexagon lights attach to the ceiling?

They screw to the ceiling through the mounting holes in the connectors into the joists or battens, and the surface mounting parts are included. For high or raked ceilings you can hang the system on suspension kits in 1 m, 2 m, 4 m or 6 m lengths.

How many suspension kits do I need?

It depends on the layout. A Penta hangs on 16 suspension kits, a Large Double Garage on 54 and a Large Triple Garage on 79. The installation manual for your layout shows where each one goes, or ask us and we will tell you the count.

How far from the walls should hexagon lights be?

Leave at least 300 mm clear of every wall. The size finder on this page uses that rule to pick the layout that fills about 80 percent of the usable ceiling.

Will hexagon lights work in a garage with a roller door?

Yes. A Classic system sits just 36 mm off the ceiling. Check the clearance against the door, its tracks and the motor through the door's full travel, keep the layout clear of that path, or fit two matching layouts, one each side of the motor.

Should I test the lights before mounting them?

Always. Build the whole system on the floor, plug it in and check every bar lights. If one stays dark, unplug it and push that bar fully home into its connector, then test again. It is much easier to fix on the floor than on a ladder.

Can I put my hexagon lights on a dimmer?

Choose the Dimmable range for that. It has step dimmable versions of the Classic layouts. Do not connect a standard Classic system to a dimmer.

Can HEXA design a layout for my space?

Yes. Send us your room size and ceiling height and we will design a layout for it, with a drawing, a parts list and a fixed price.

Hexagon Lighting Installation

Designed in Australia.

Light output is the rated luminous flux of each Classic system from its datasheet, at its brightest colour temperature. Service life is the rated life of the LEDs.

Whole system safety and EMC testing and EESS registration E2025008174 cover the HEXA Classic range. Larger Classic layouts are built from the same tested kits. Other ranges are supplied by EESS registered responsible supplier E20062.

Warranty terms apply; see the warranty page. Plug and play systems run from a standard Australian 3-pin power point. Connecting a system to a wall switch or lighting circuit is fixed wiring and must be done by a licensed electrician. The famous builds shown are HEXA installations.